# Add documents to Datashare
{% stepper %}
{% step %}
**Find your Datashare folder on your Mac**
Open your Mac's '**Finder**' by clicking on the blue smiling icon in your Mac's '**Dock**':
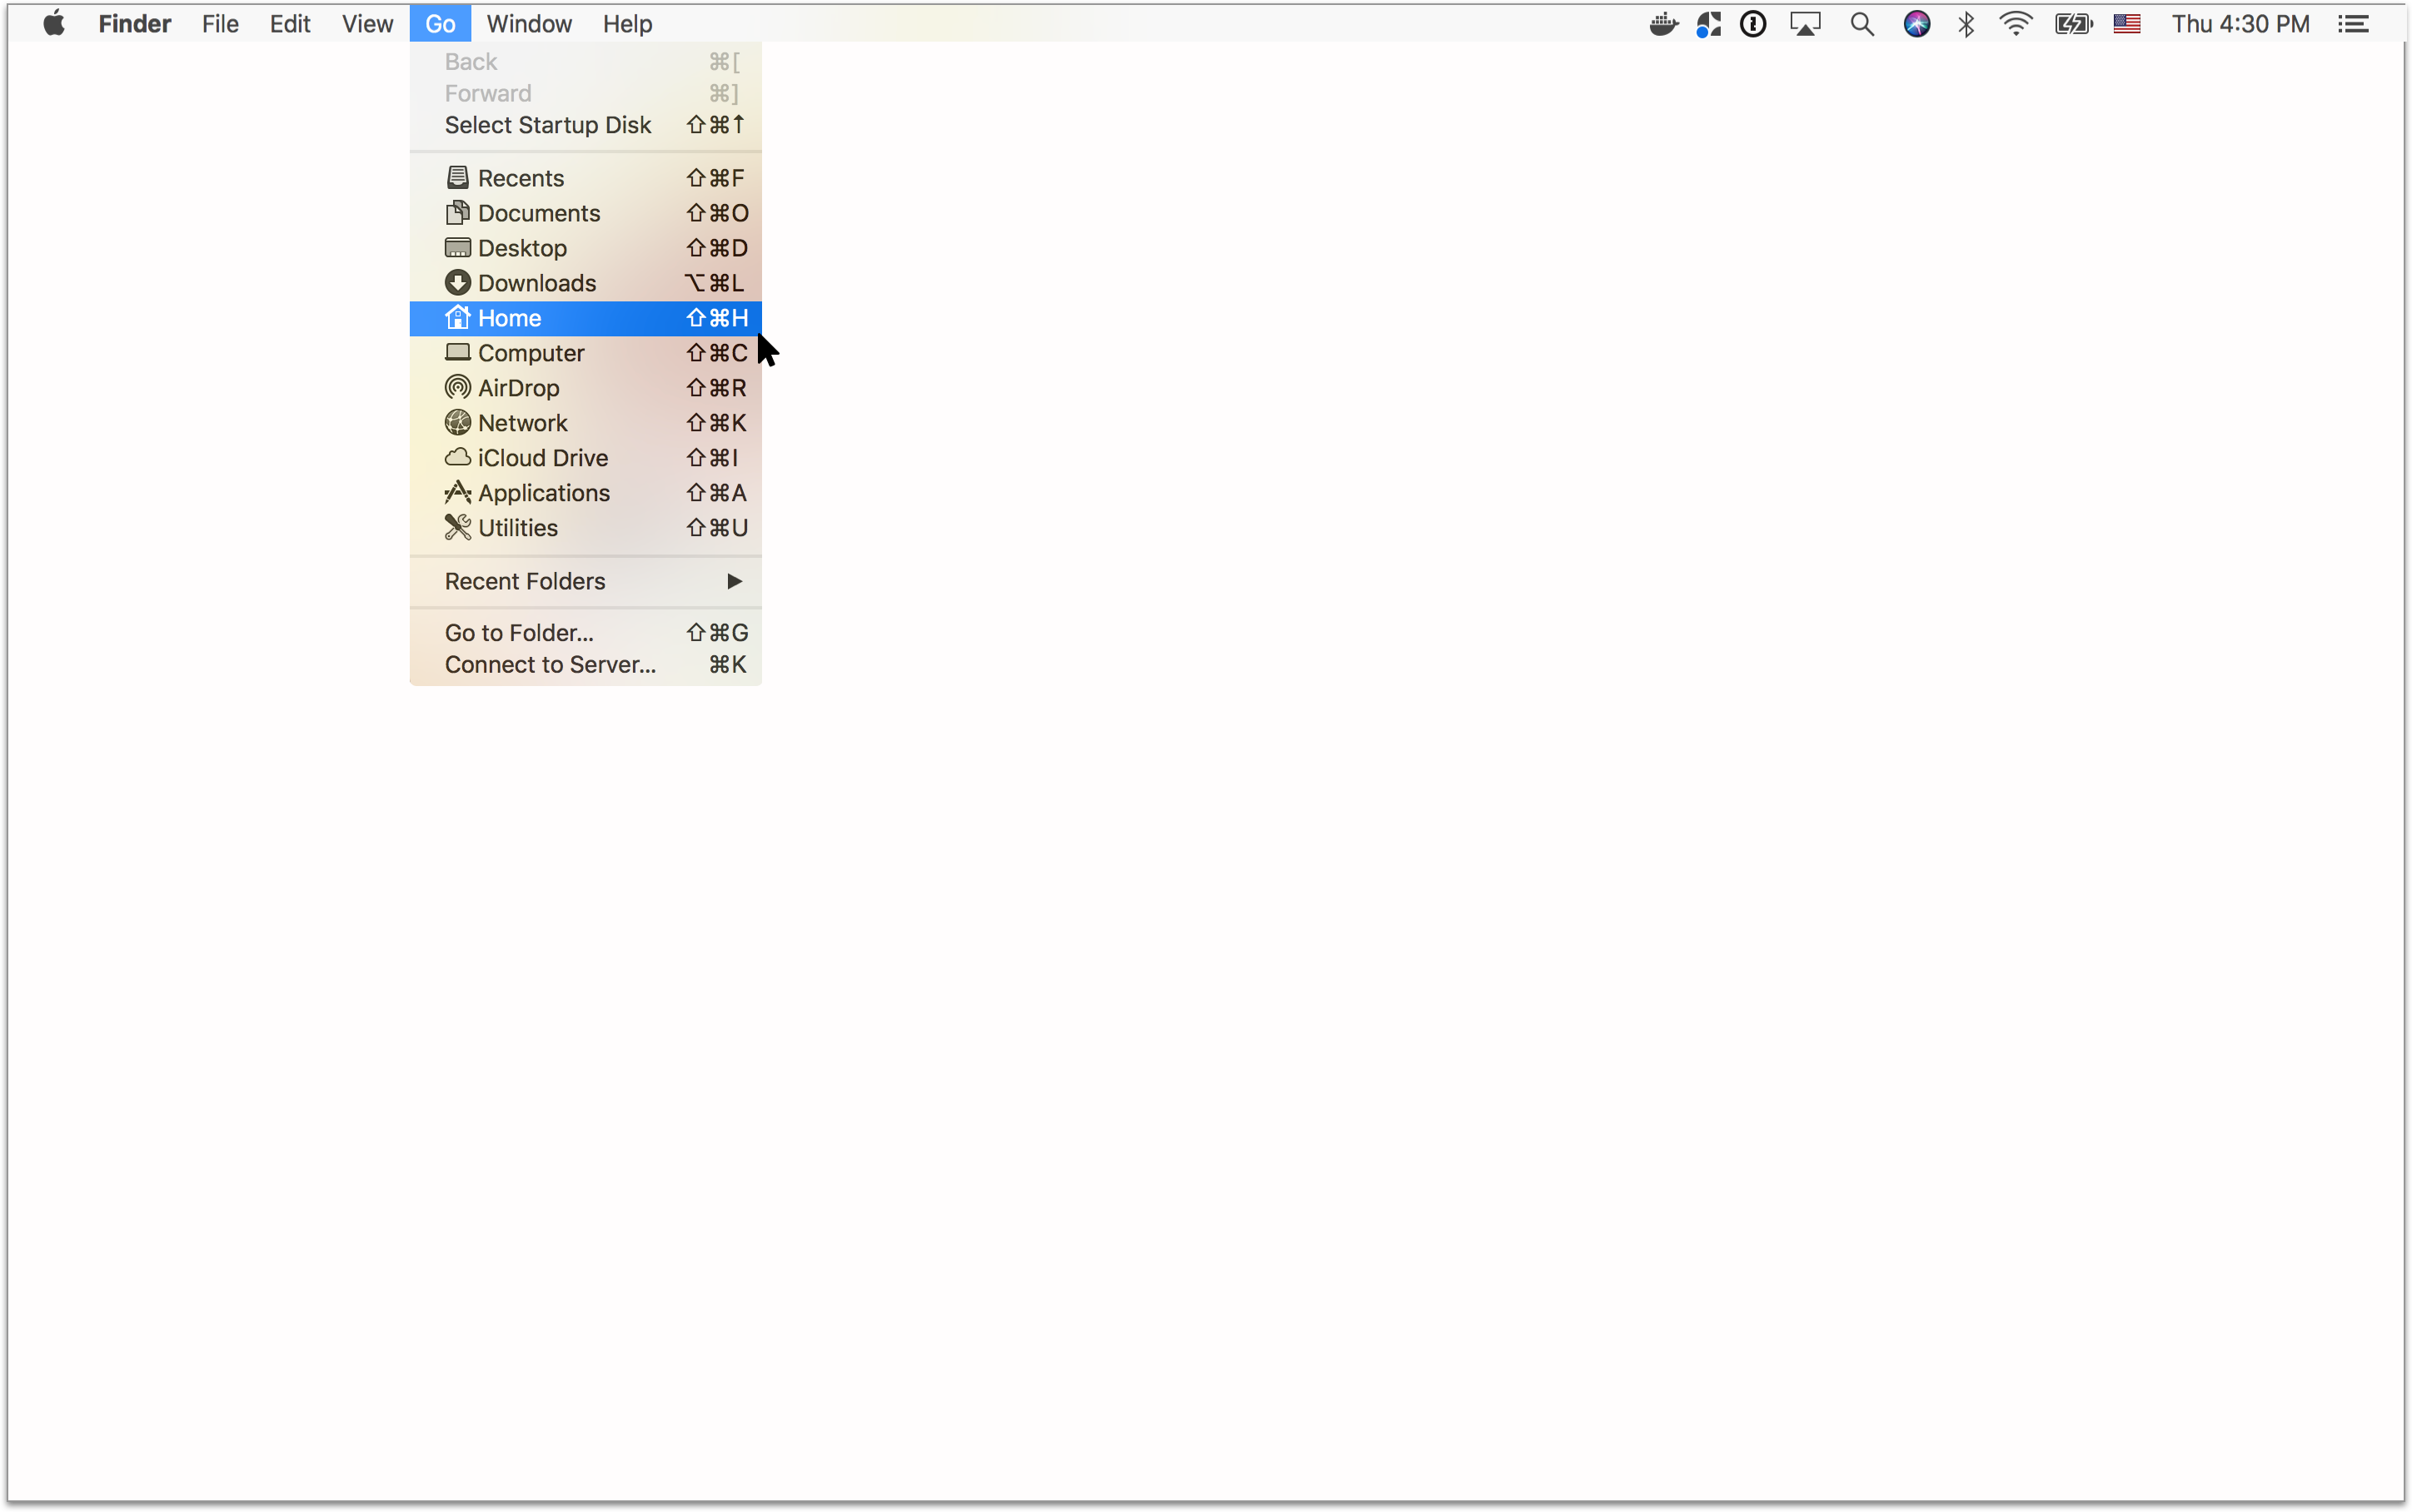
On the menu bar at the top of your computer, click '**Go**' and '**Home**' (the house icon):
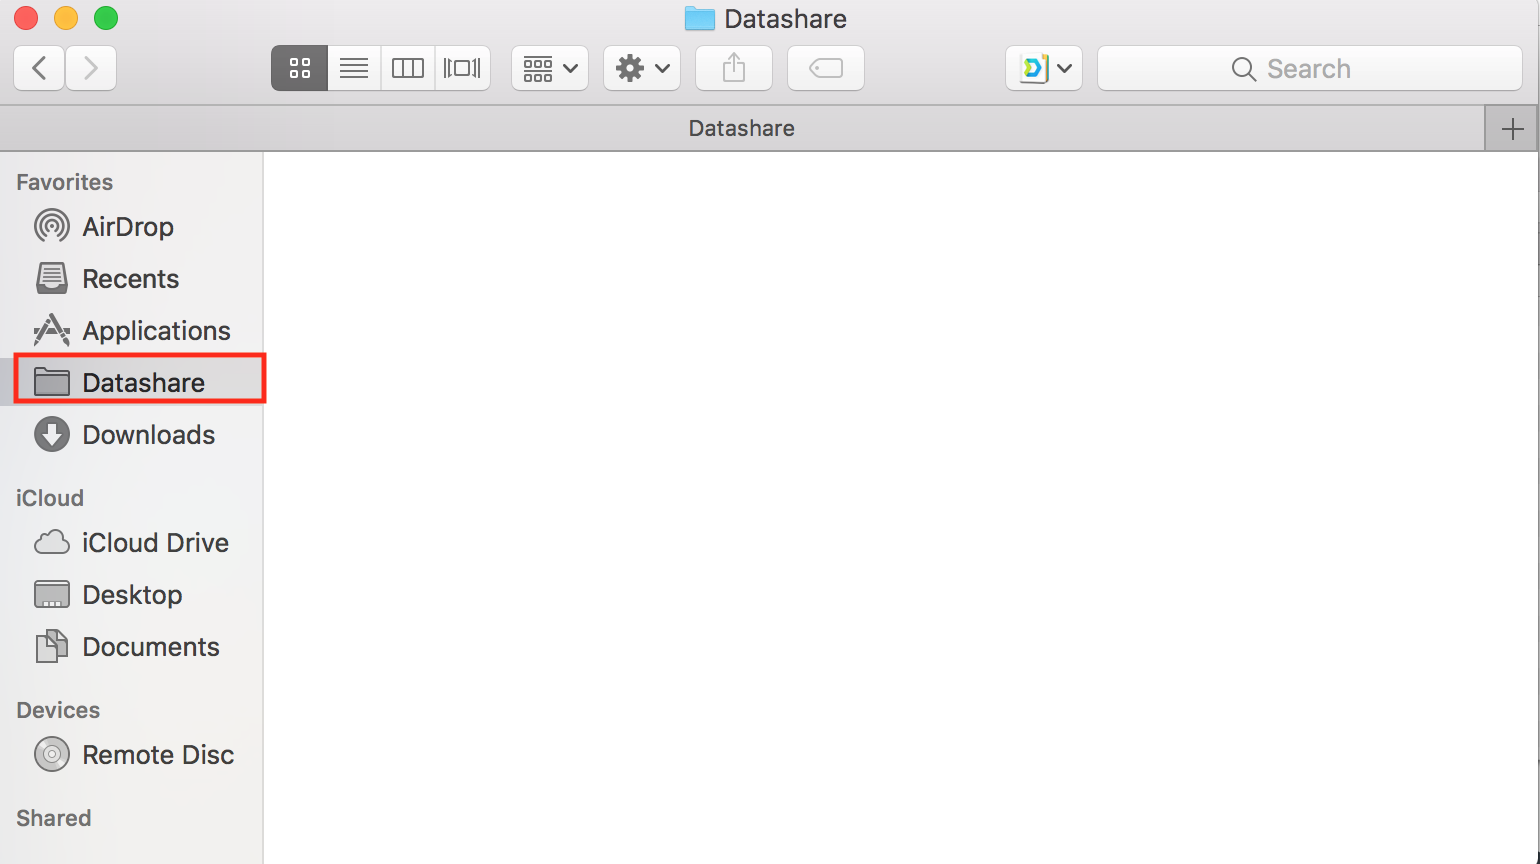
You will see a folder called '**Datashare**':
If you want to quickly access it in the future, **you can drag and drop it in 'Favorites**' on the left of this window:
{% endstep %}
{% step %}
**Add documents to your Datashare folder on your Mac**
Copy or drop the documents that you want to add to Datashare in this Datashare folder.
{% endstep %}
{% step %}
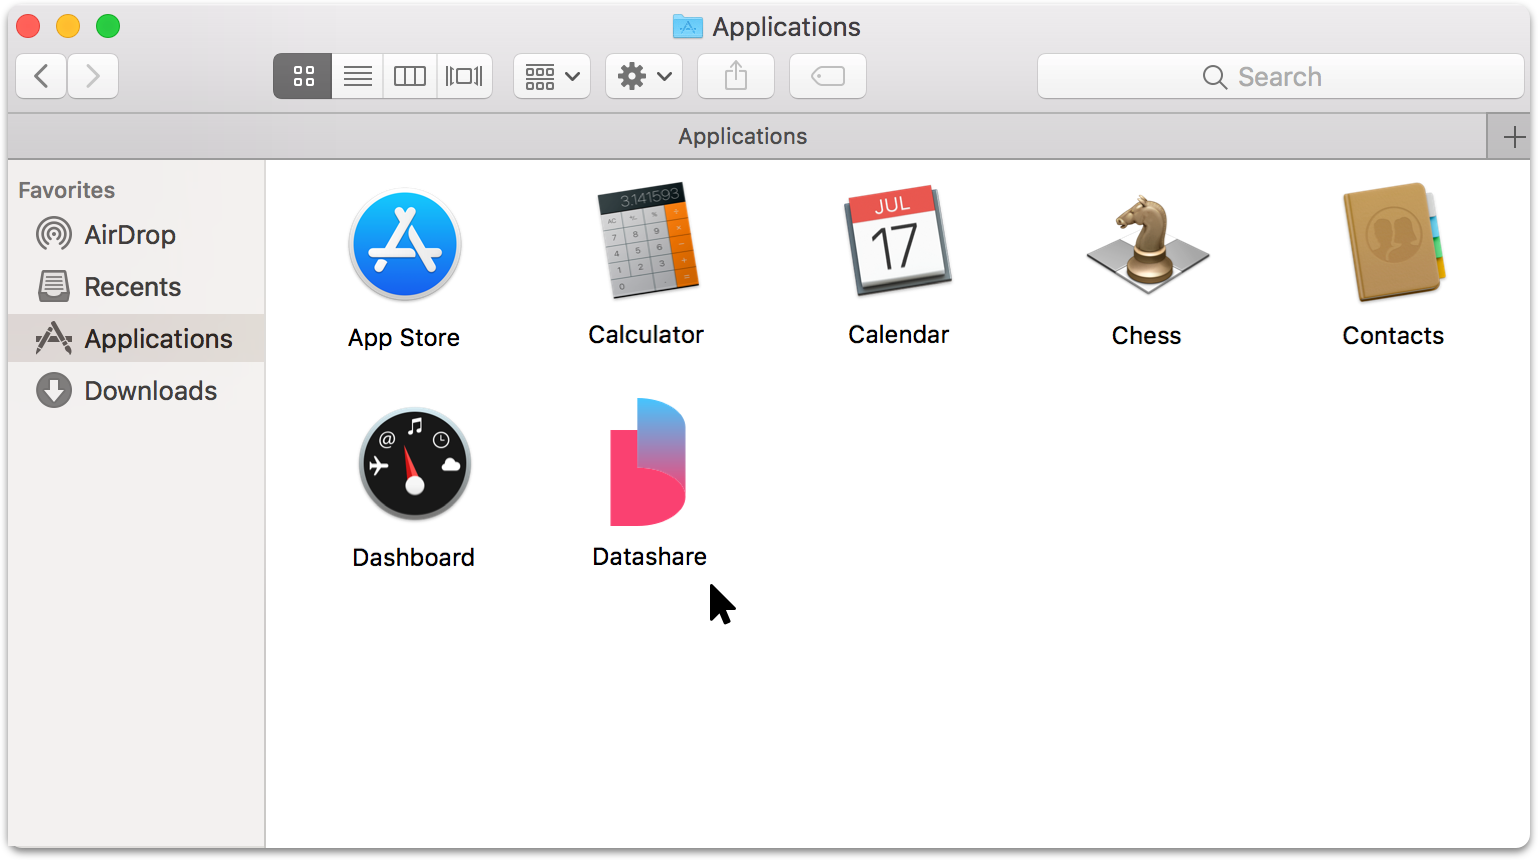
**Launch Datashare**
Open your **Applications**. You should see Datashare. Double-click on it:
{% endstep %}
{% step %}
**In the menu, in 'Tasks', open 'Documents'**
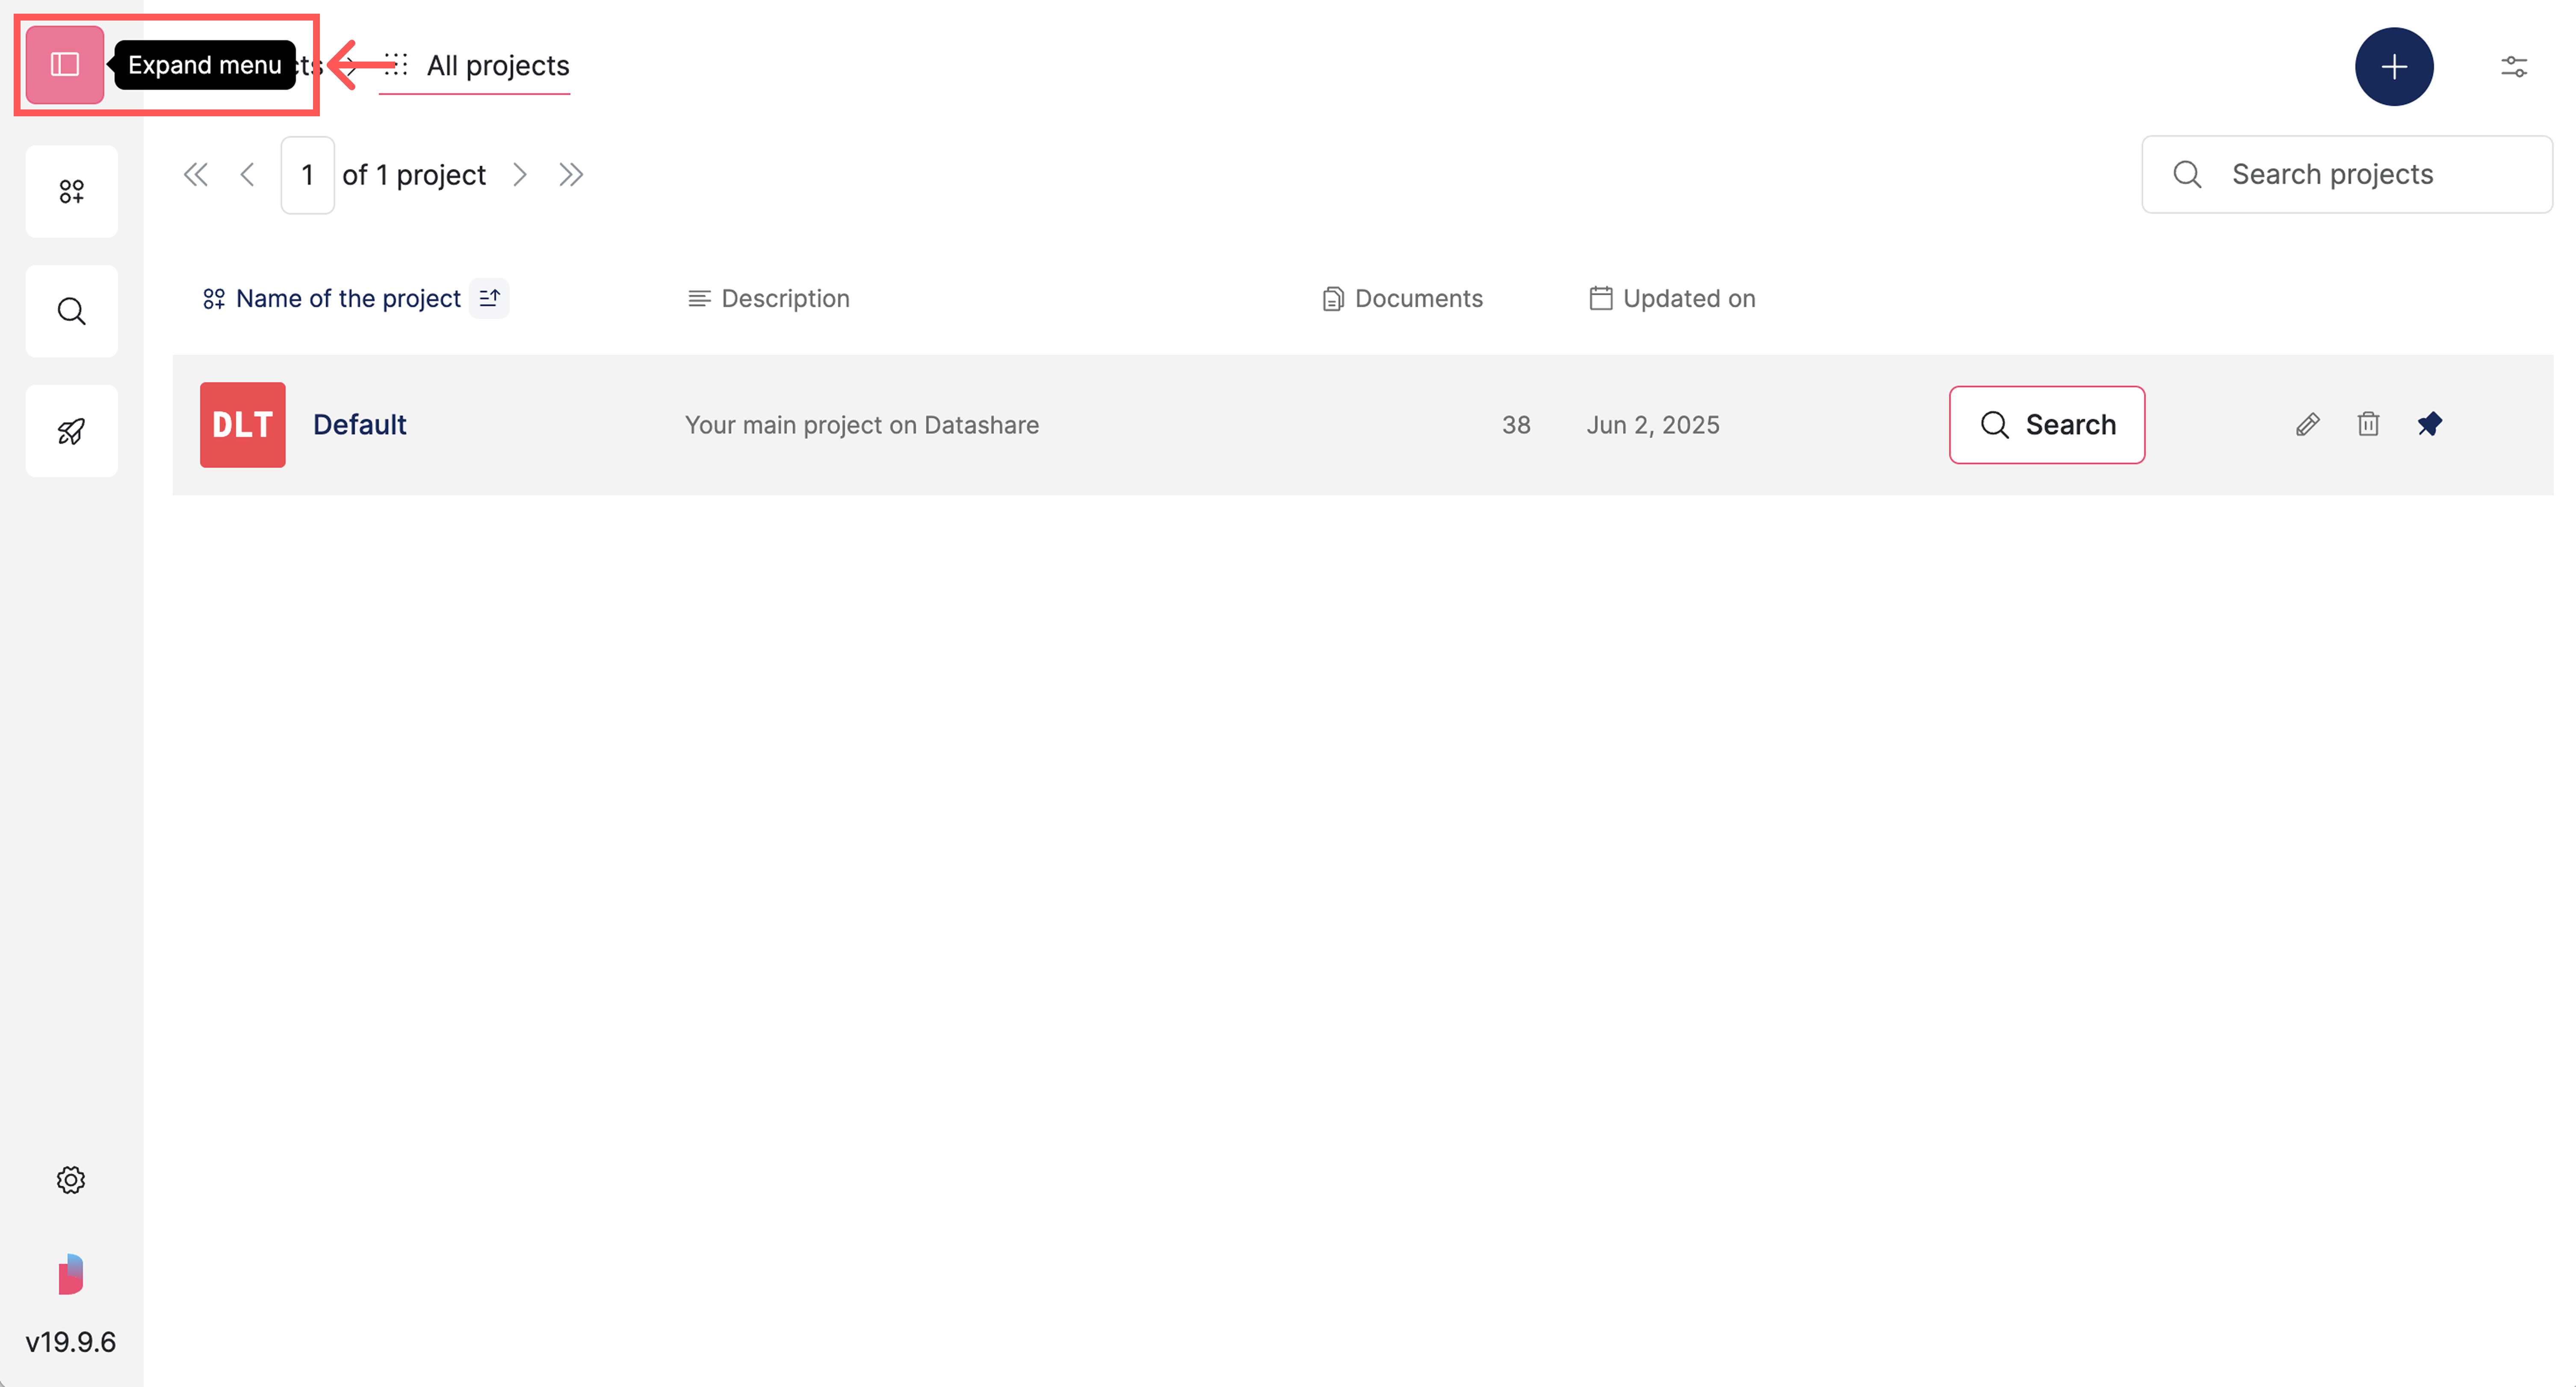
Expand the **menu** on the left:
Expand the menu
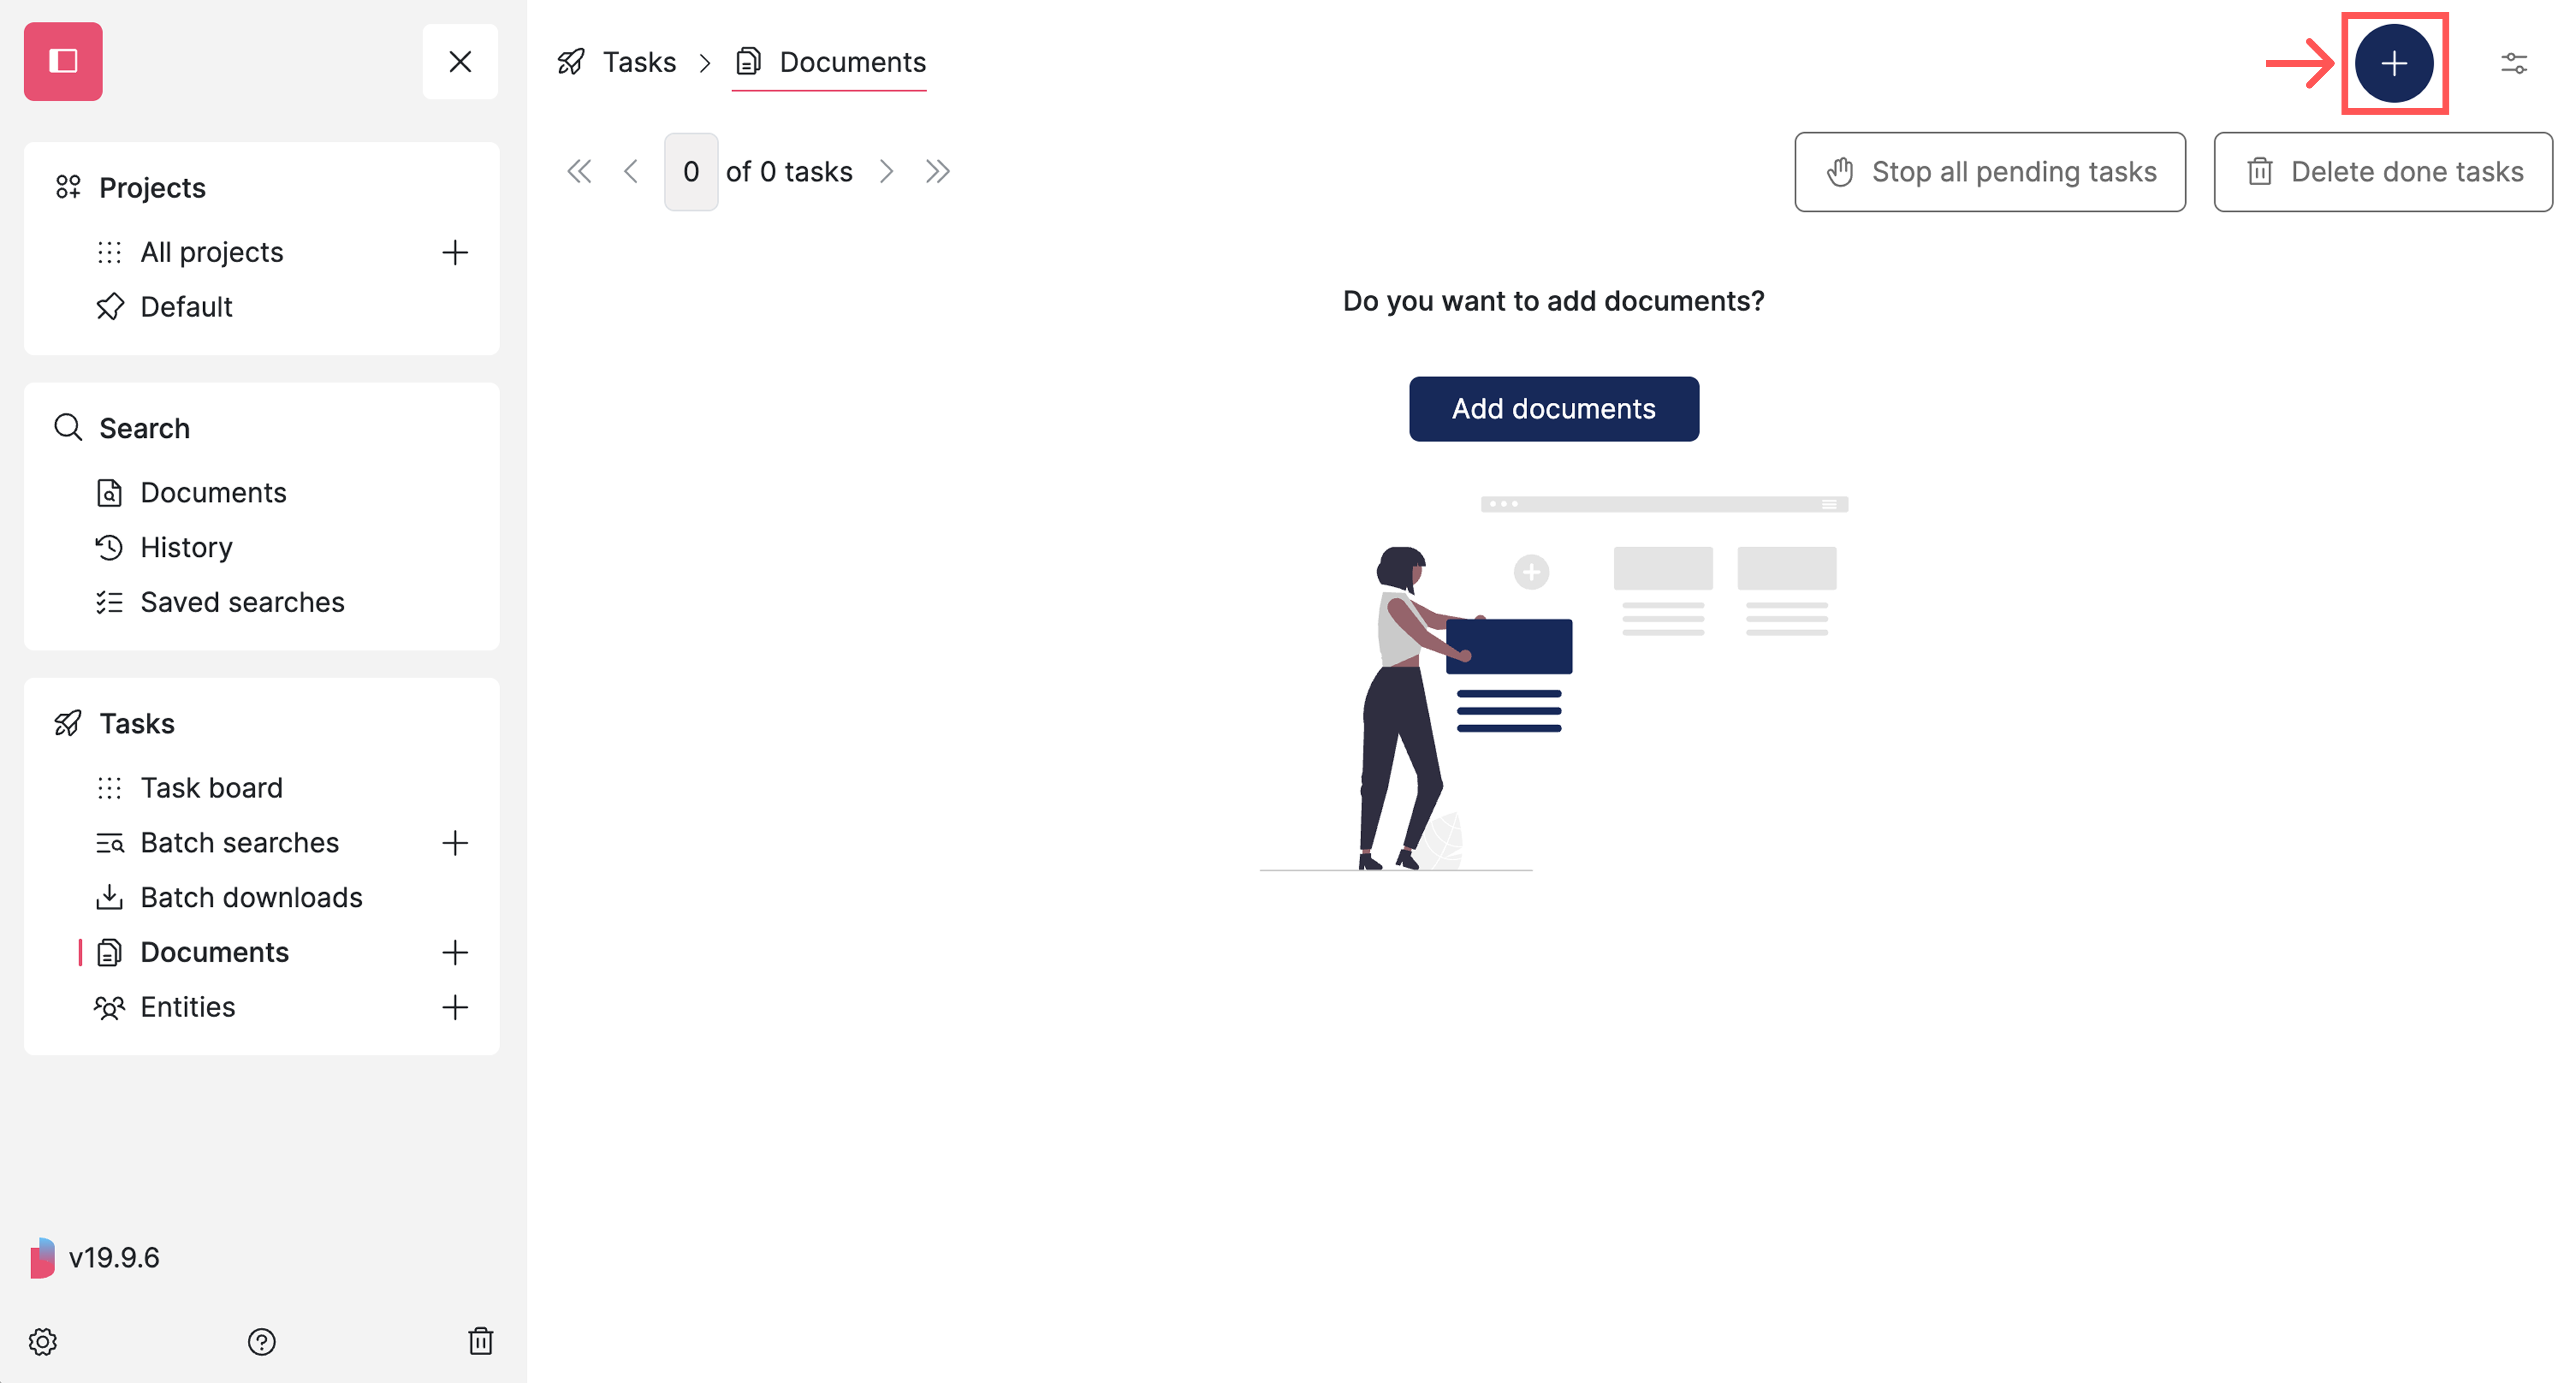
In 'Tasks', open '**Documents**':
Open the 'Documents' page
On the top right, click the **'Plus'** button:
Click the 'Plus' button
{% endstep %}
{% step %}
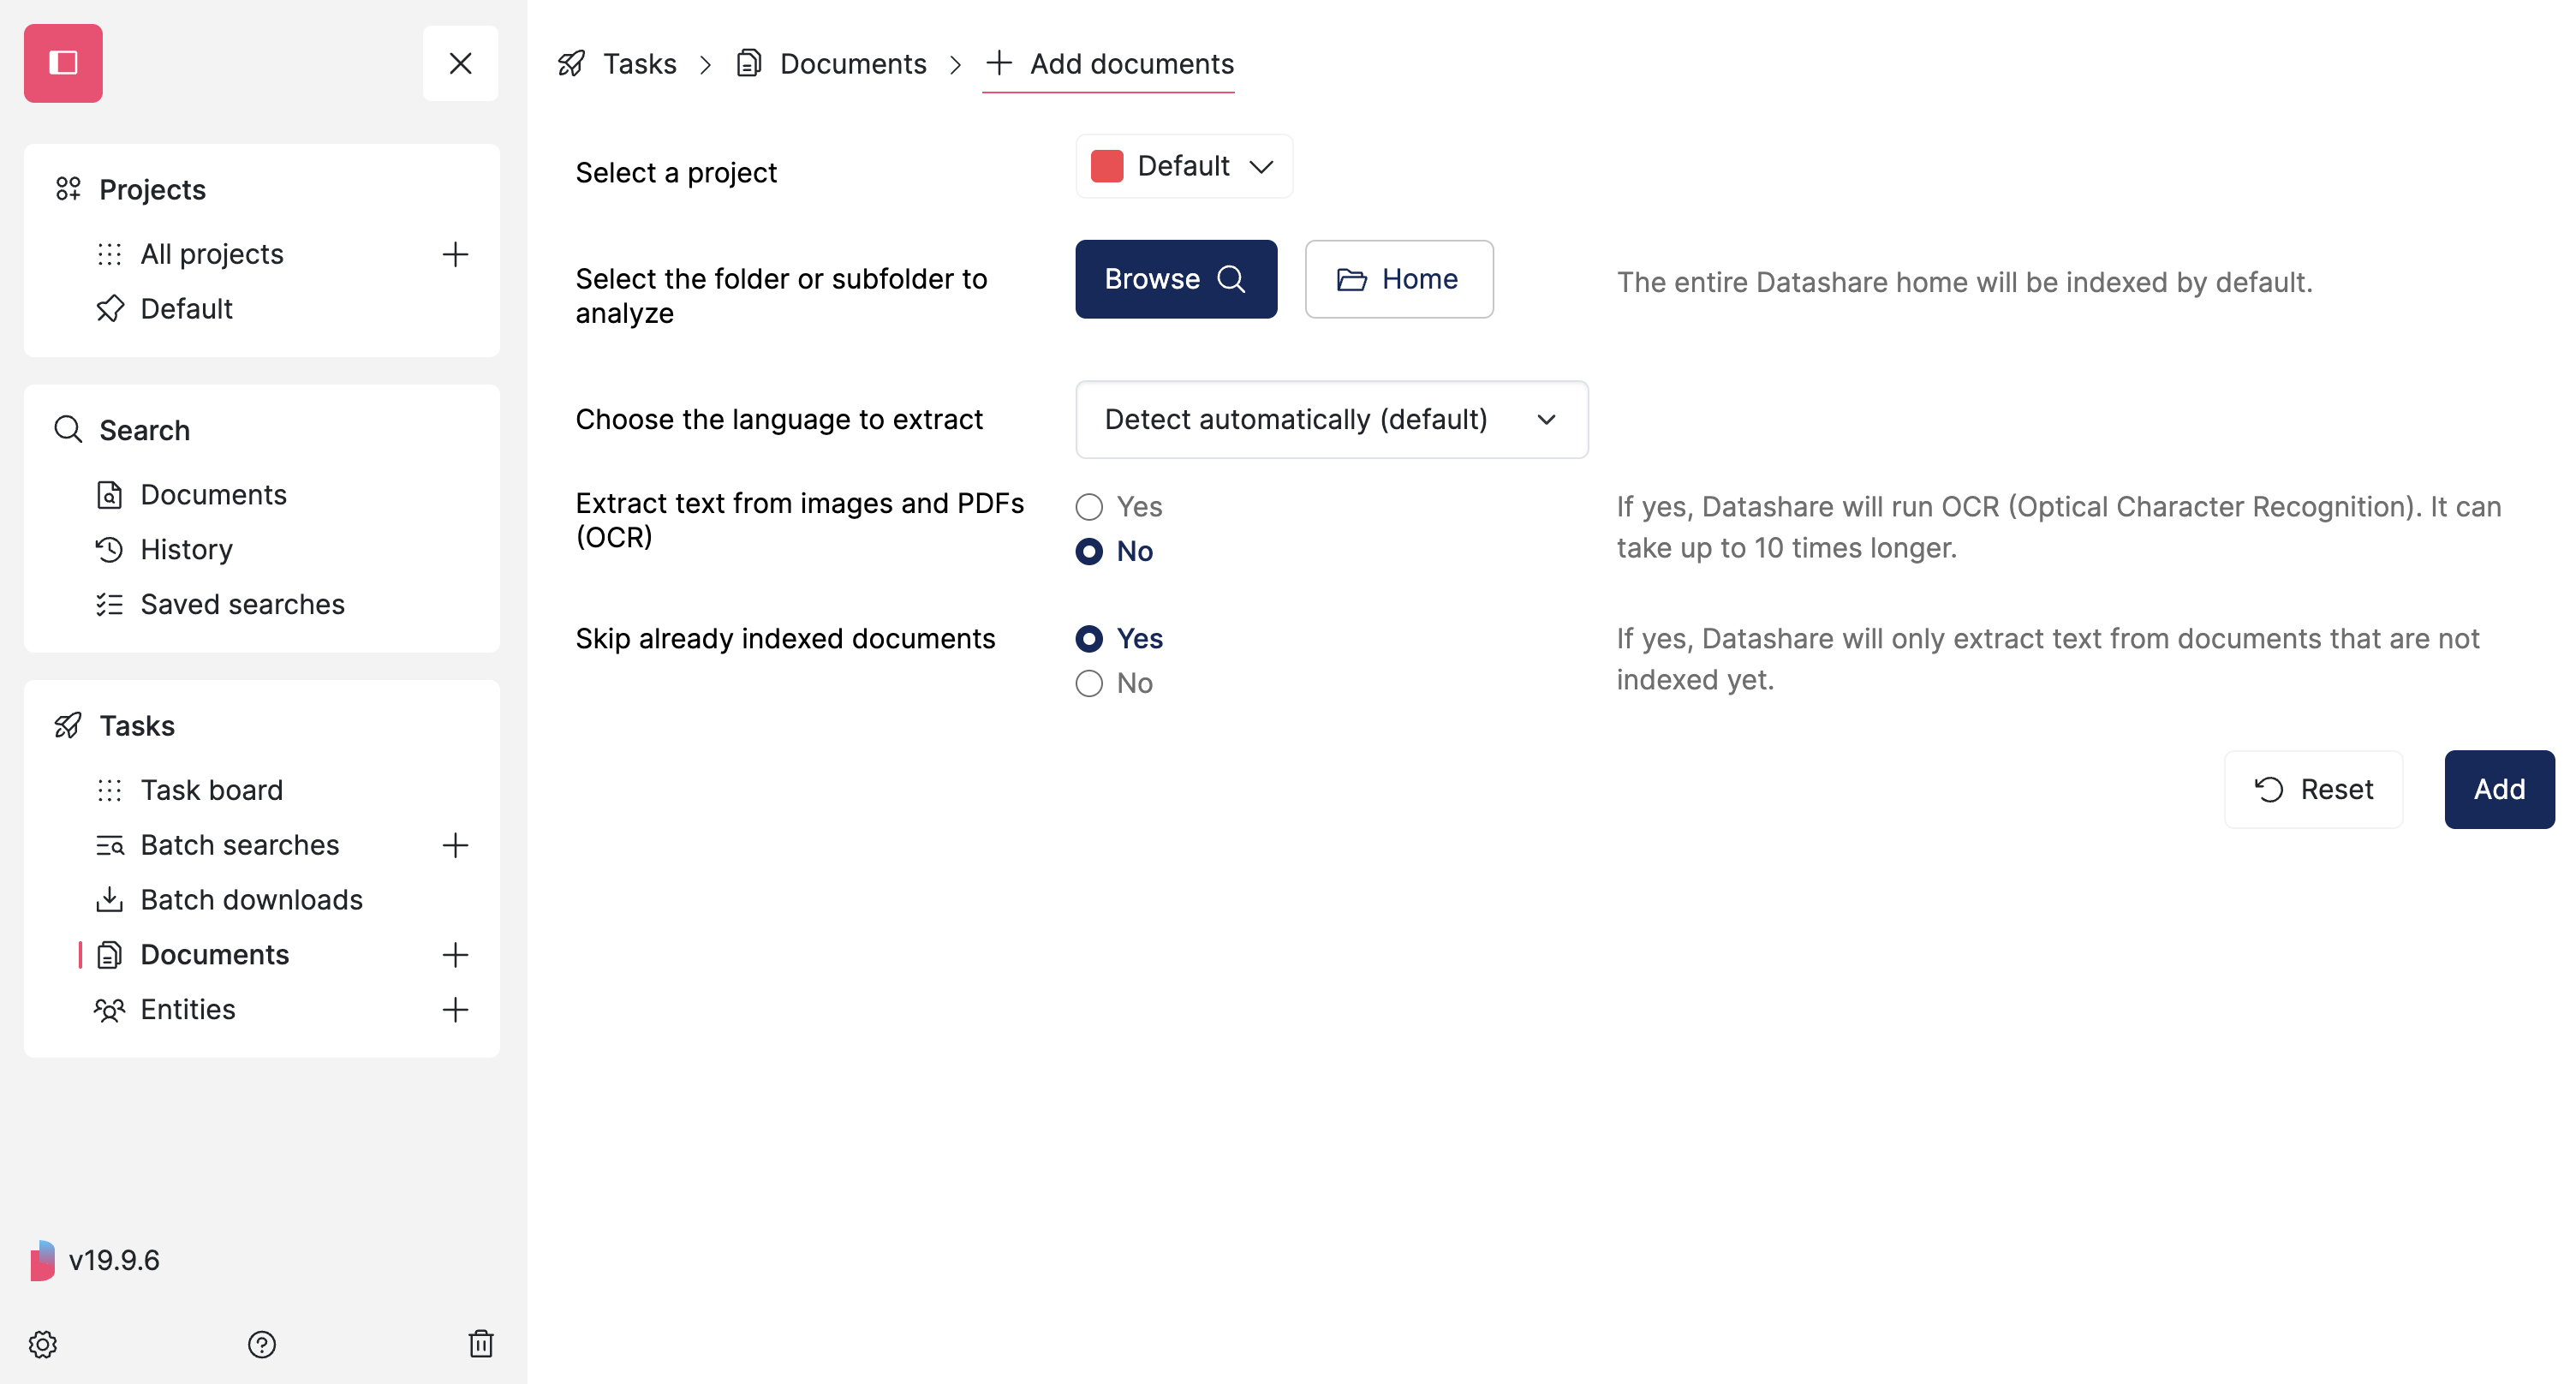
**Choose your options**
* Select the **project** in Datashare where you want to add your documents. The Default project, which is automatically created, is selected by default.
* Select the **folder or sub-folder** on your computer in your 'Datashare' directory containing the documents you want to add. The entire 'Datashare' directory will be added by default.
* Choose the **language** of your documents if you don't want Datashare to guess it automatically.\
Note: If you choose to also extract text from images (at the next option), you might need to install the appropriate language package on your system. Datashare will tell you if the language package is missing. Refer to the documentation to know [how to install language packages](https://icij.gitbook.io/datashare/local-mode/add-more-languages).
* Extract text from **images/PDFs with Optical Character Recognition (OCR)**. Be aware the indexing can take up to 10 times longer.
* Skip **already indexed** documents if you'd like.
* Click '**Add**'
Form for adding documents
{% endstep %}
{% step %}
**Watch the progress of your document addition**
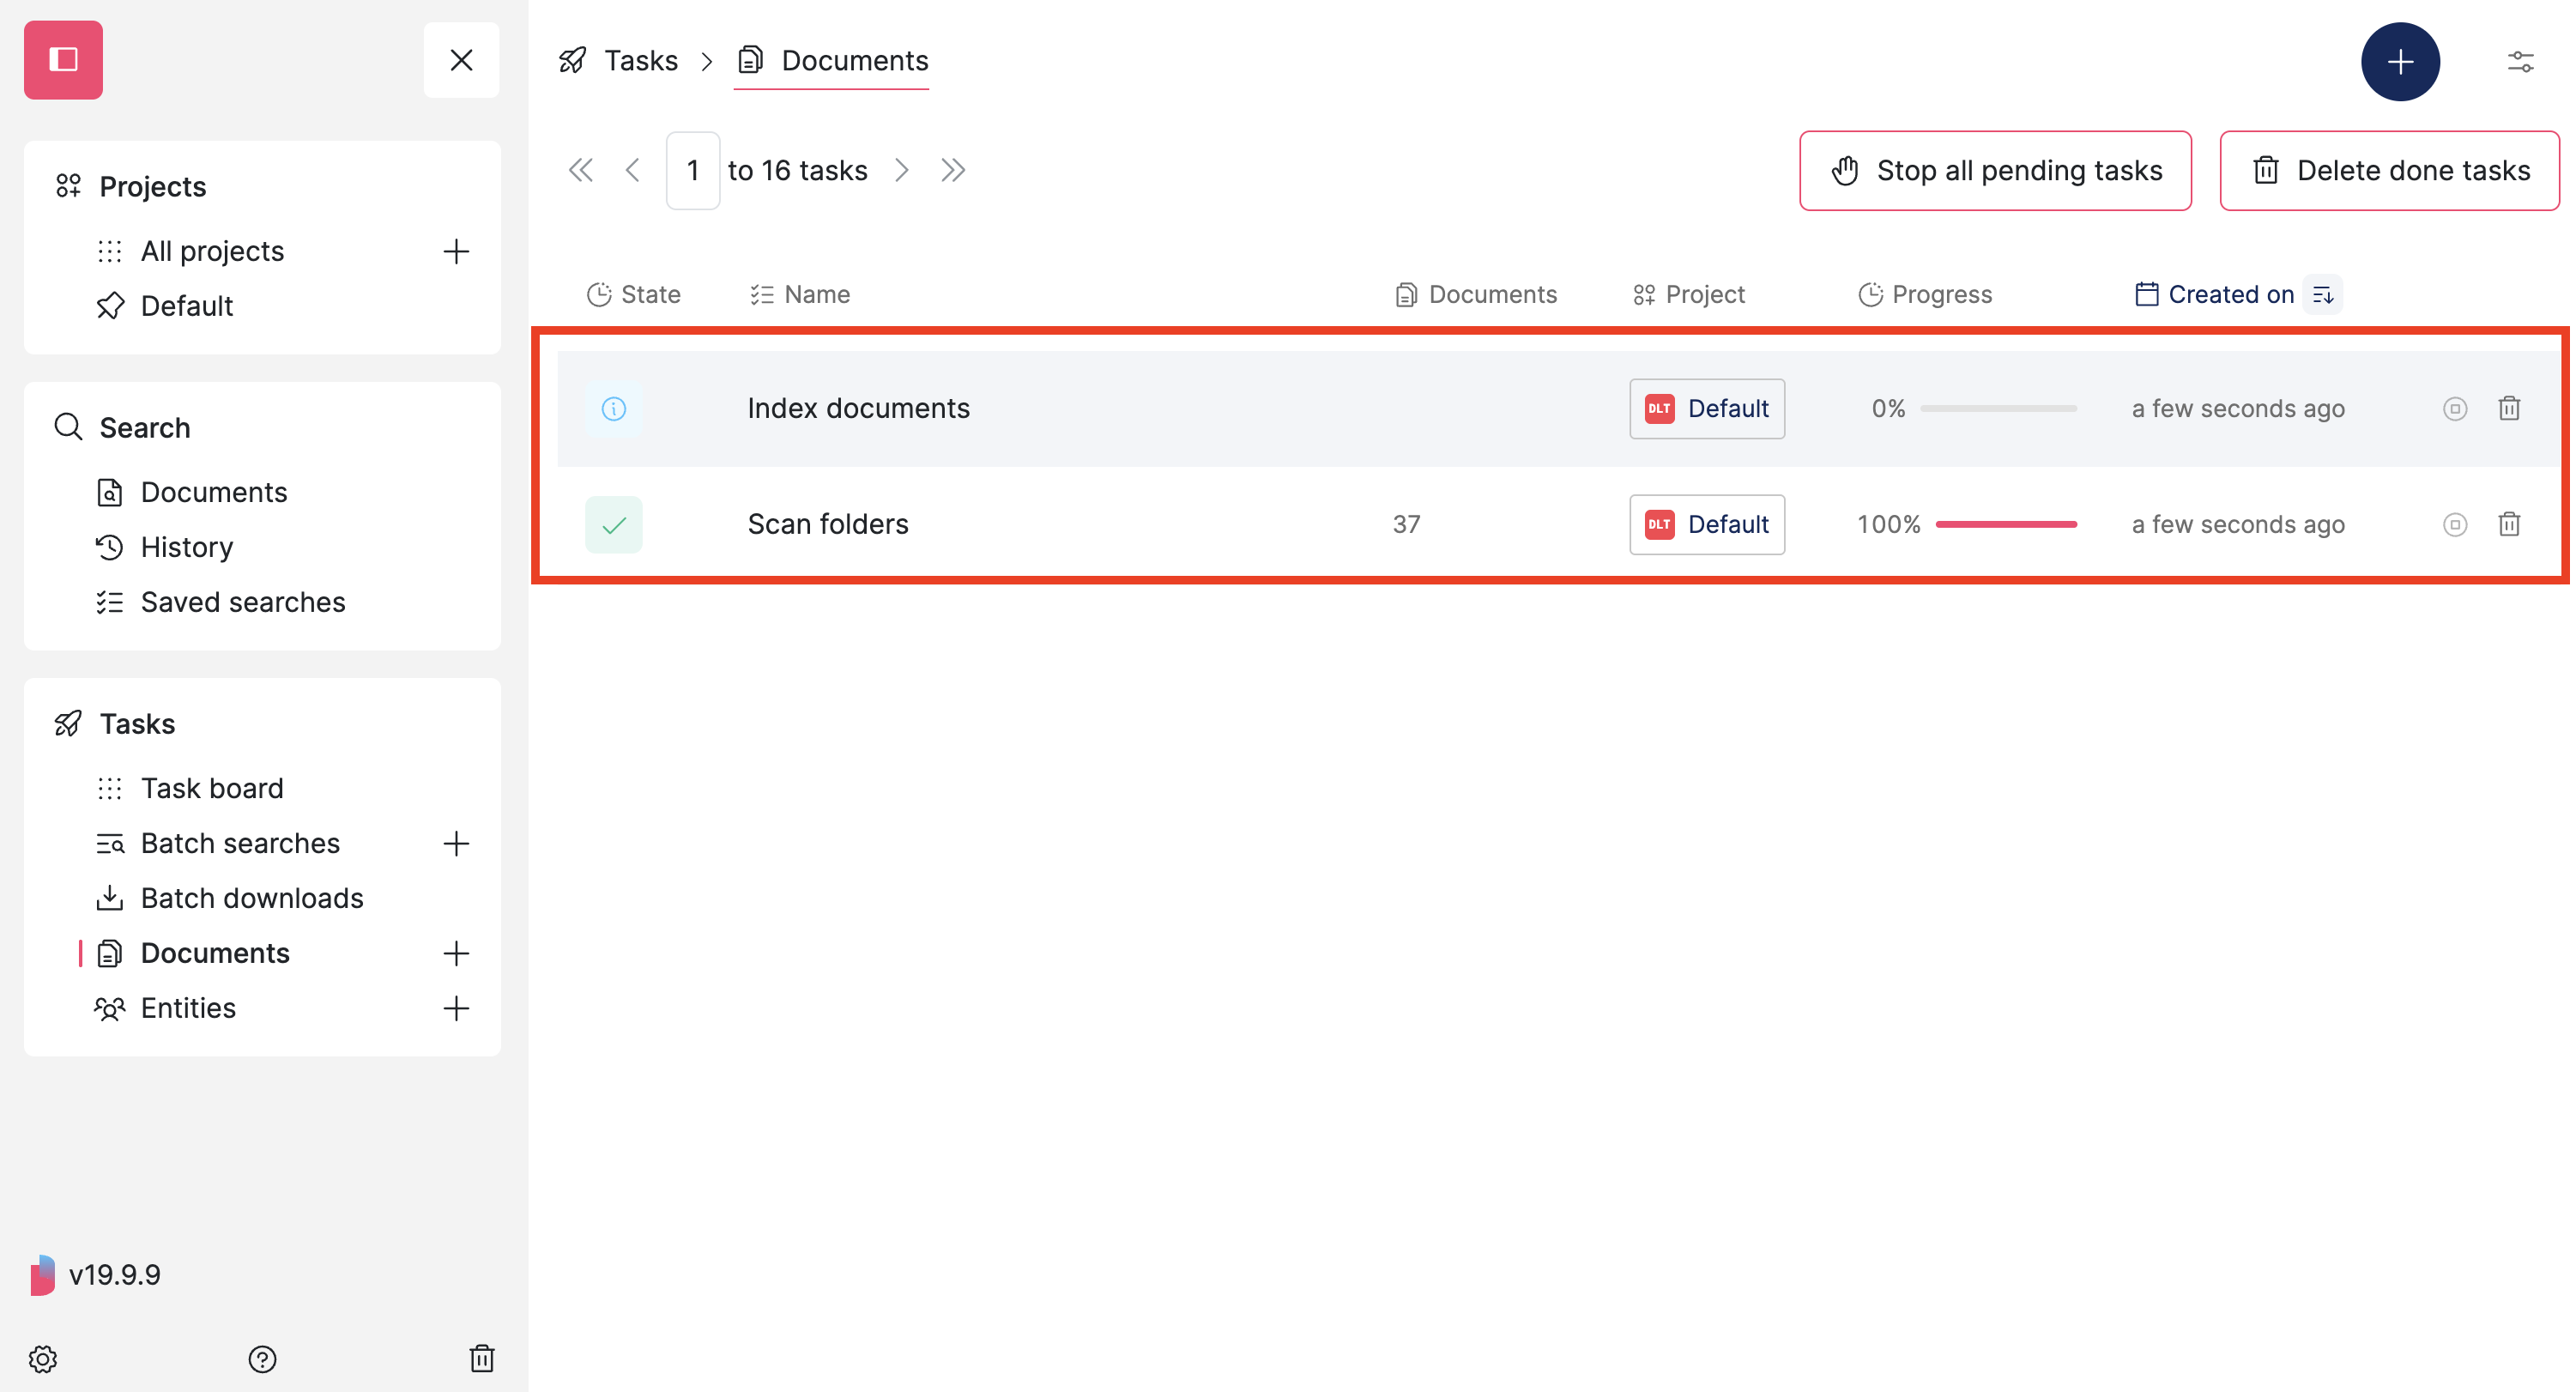
Two extraction tasks are now running:
* The first is the **scanning** of your Datashare folder - it sees if there are documents to analyze. It is called 'Scan folders'.
* The second is the **indexing** of these files. It is called 'Index documents'.
Note: It is not possible to '[Find entities](https://icij.gitbook.io/datashare/local-mode/find-entities)' while these two tasks are still running. You won't have the entities (names of people, organizations, locations and e-mail addresses) yet. To get these, once your document addition is finished, please follow the steps to '[Find entities'](https://icij.gitbook.io/datashare/local-mode/find-entities).
But you can start searching in your documents without having to wait for all tasks to be done.
{% endstep %}
{% endstepper %}
You can now [search documents in Datashare](https://icij.gitbook.io/datashare/usage/search-documents).